
Connecting Your First Pedal
Follow these steps to get your pedal talking to Nitelite. You don’t need an account for any of this — the app is free to use, signed in or not.
Physical Setup
Section titled “Physical Setup”Before opening the app, get your gear connected. The exact wiring depends on your pedal’s connection type — see Choosing Your MIDI Hardware if you haven’t sorted this yet.
- USB MIDI pedal (UAFX, newer Strymon, Line 6…): plug the pedal into your computer with a USB cable.
- 5-pin DIN pedal: plug your USB-MIDI interface into the computer, then run a MIDI cable from the interface’s MIDI OUT to the pedal’s MIDI IN.
- TRS pedal (Chase Bliss, classic Meris, Empress…): same as above, with the manufacturer’s adapter box between the interface and the pedal.
Power on your pedal.
In Nitelite
Section titled “In Nitelite”-
Allow MIDI access
When you first open nitelite.ai, your browser will ask for permission to use MIDI devices. Click Allow. Without this, Nitelite can’t communicate with your pedal.
If you accidentally clicked Block, you can reset this in your browser’s site settings — see Troubleshooting.
-
Select your MIDI output device
Click MIDI in the left sidebar to open the MIDI Setup panel. Under Output Device, you should see your interface (or USB-connected pedal) listed. Select it.
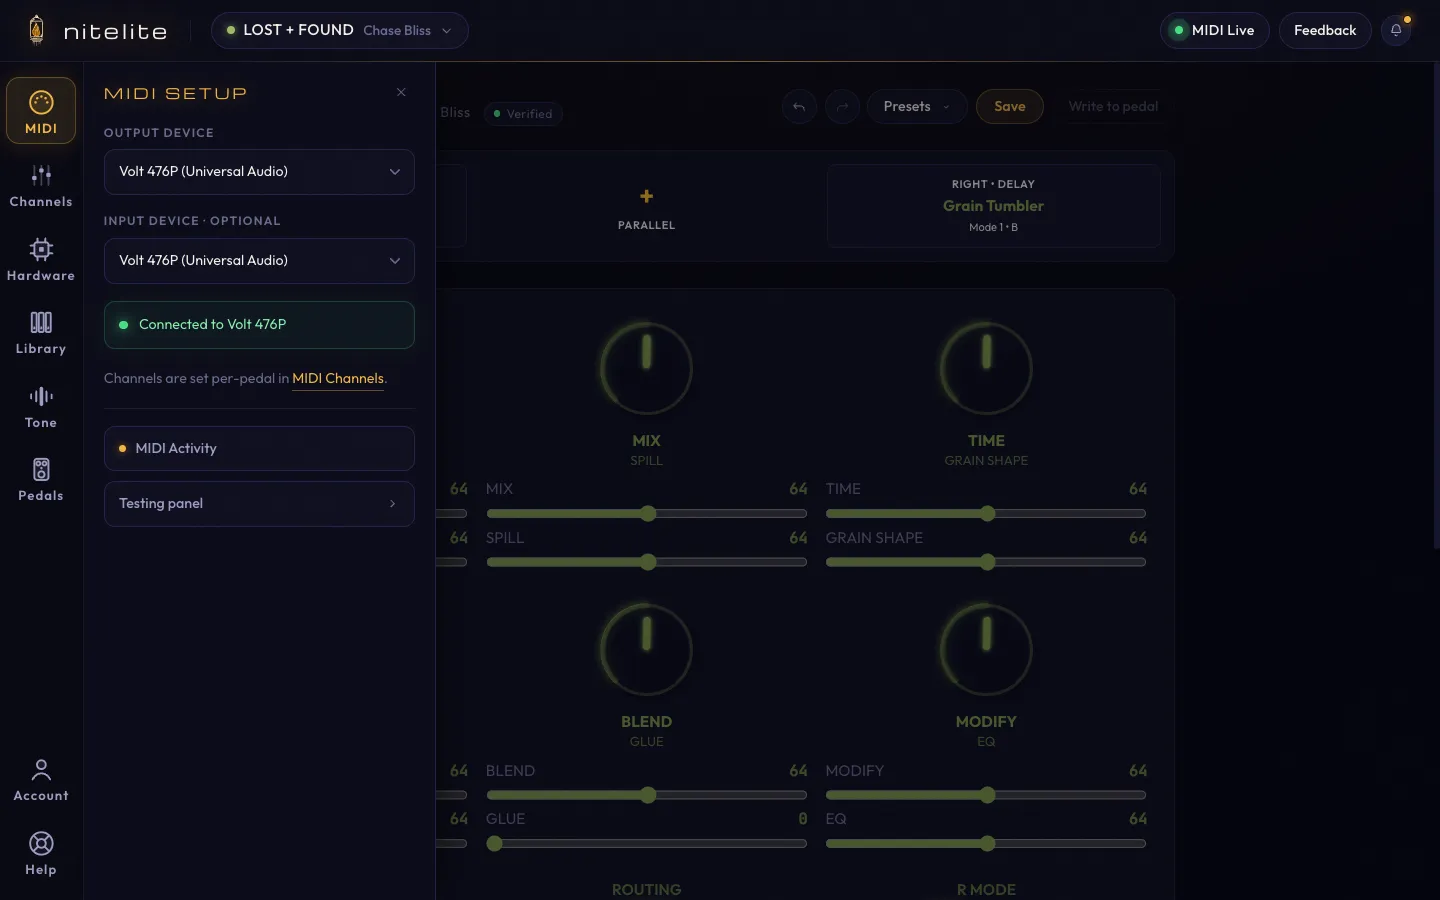
When a device is connected, the pill in the top-right corner of the header reads MIDI Live with a green dot. If it says MIDI Off, Nitelite isn’t sending anything yet.
-
Choose your pedal
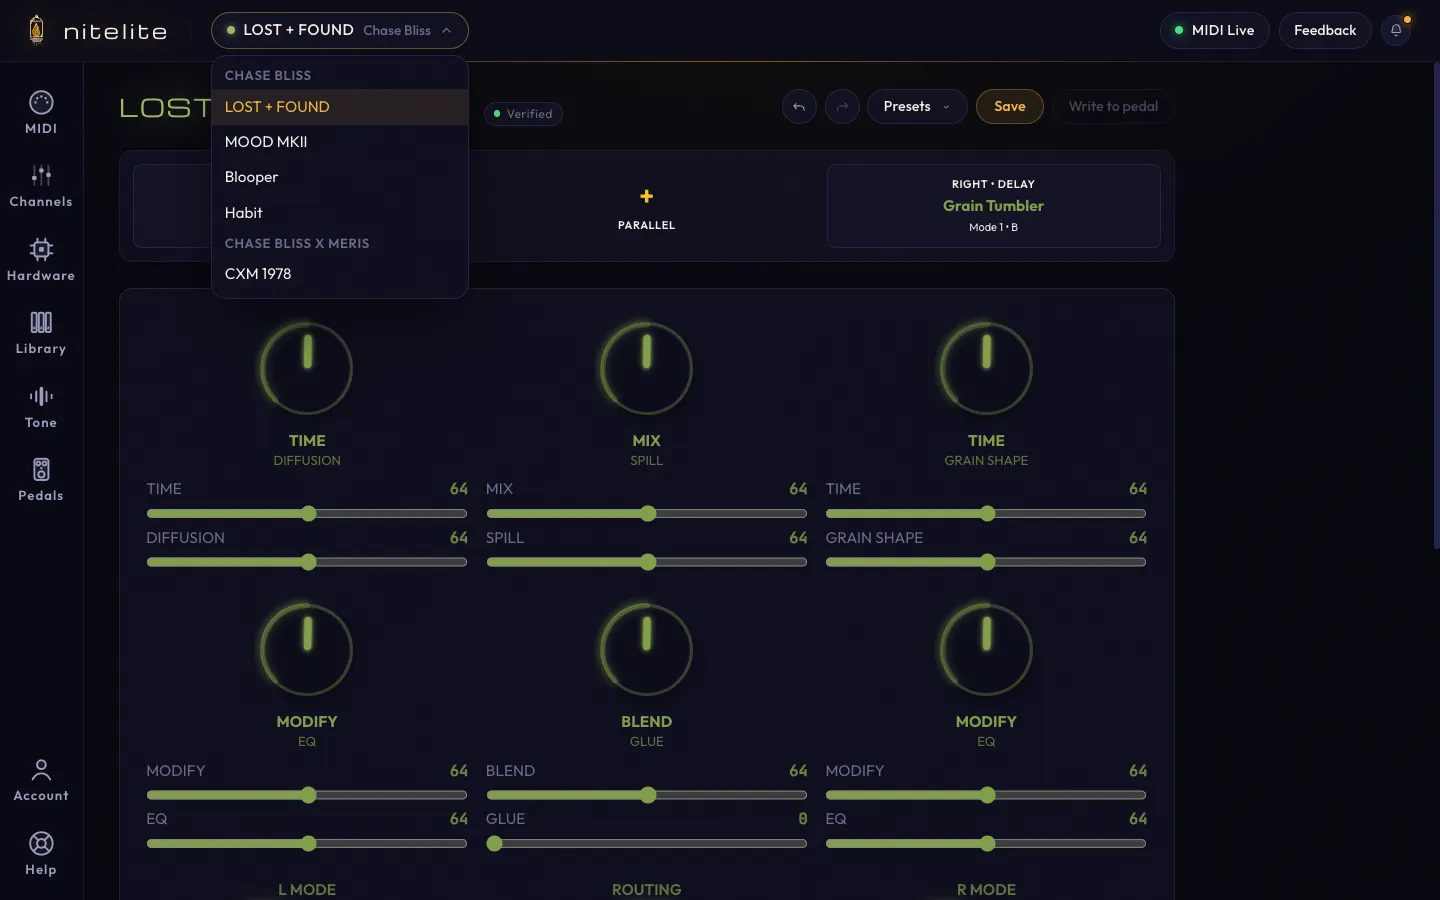
Click the pedal name at the top of the screen to switch between pedals in your collection, or click Pedals in the sidebar and then Edit collection to browse and search all supported pedals.
-
Check the MIDI channel
Nitelite defaults each pedal to its factory MIDI channel (channel 1 for most brands, channel 2 for Chase Bliss). If your pedal is set to something else, match it in the Channels panel — see MIDI Channels.
-
Verify it’s working
Turn a knob on screen. Your physical pedal should respond immediately. If it doesn’t, double-check your cable direction and channel settings — the Troubleshooting page walks through the common causes.
The Built-In Checklist and Tour
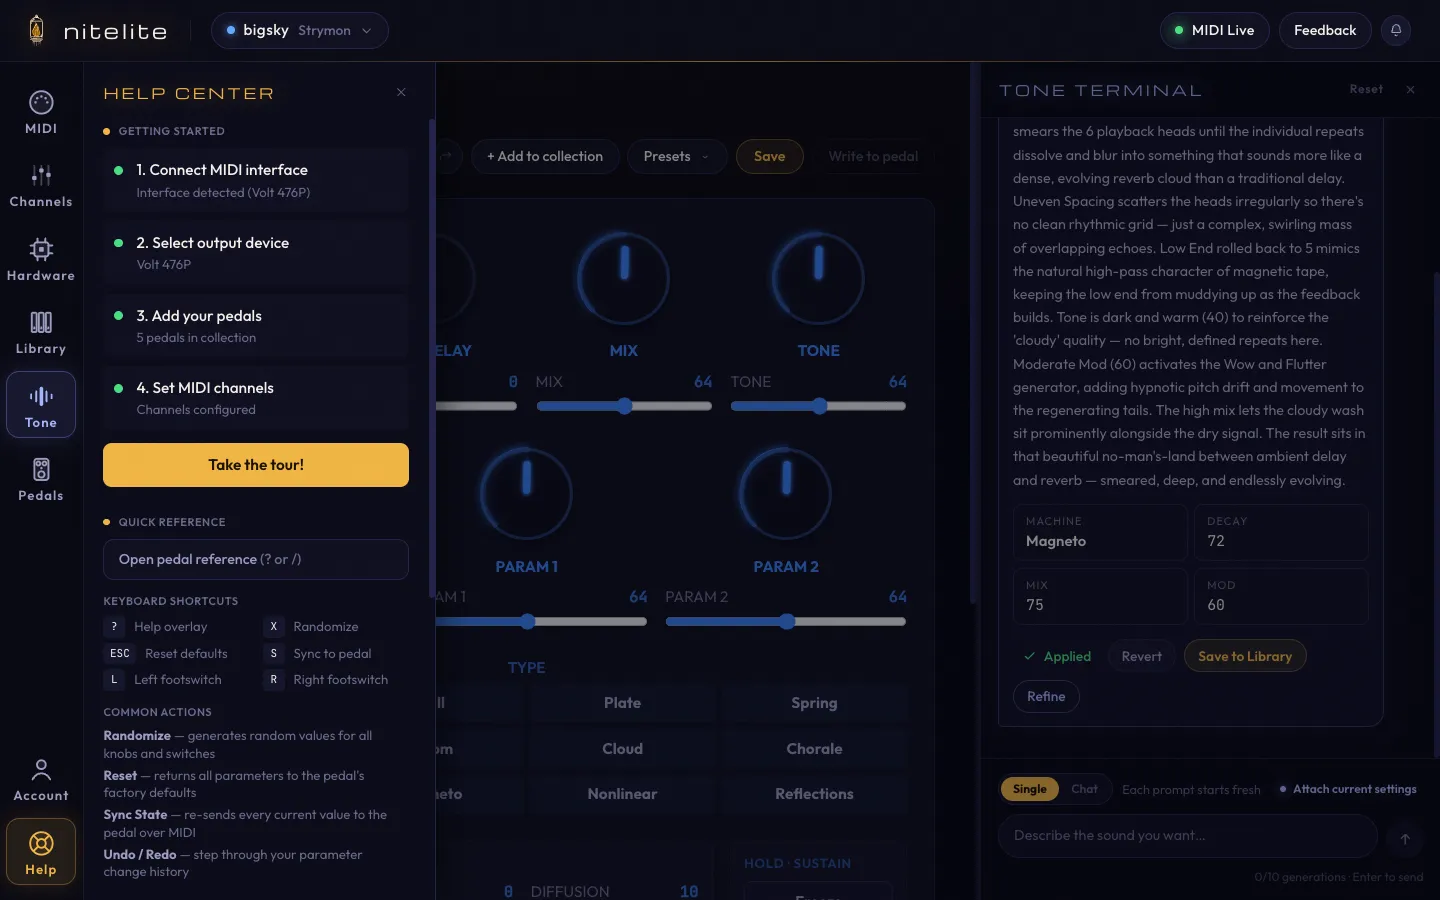
Section titled “The Built-In Checklist and Tour”The Help button at the bottom of the sidebar opens the Help Center, which tracks this exact setup as a live checklist — interface detected, output selected, pedals added, channels configured — and offers a guided tour of the interface via Take the tour!.
Next Steps
Section titled “Next Steps”- Build your pedal collection to keep the selector focused on your board.
- Set MIDI channels if you have multiple pedals on the same MIDI chain.
- Start controlling your pedal — knobs, switches, undo, and more.