
Quick start
Set up your board once, then get on with playing. Your account keeps your collection and channel choices. Next time, reconnect your gear and check the output before loading a sound.
1. Open a MIDI-capable browser
Section titled “1. Open a MIDI-capable browser”Use desktop Chrome, or another browser that supports Web MIDI on your device, such as Edge. Open Nitelite and allow MIDI access when prompted.
You can explore without an account. Sign in when you’re ready to keep your collection and cloud presets.
2. Connect your gear
Section titled “2. Connect your gear”Power your pedal. If its manual confirms USB MIDI support, connect it with a USB data cable. Otherwise, use the MIDI interface and adapter your pedal requires.
Your guitar audio still runs through the pedal to your amp. MIDI carries the control messages.
A USB socket alone doesn’t establish MIDI support. For TRS connections, check the exact adapter wiring.
3. Select your device
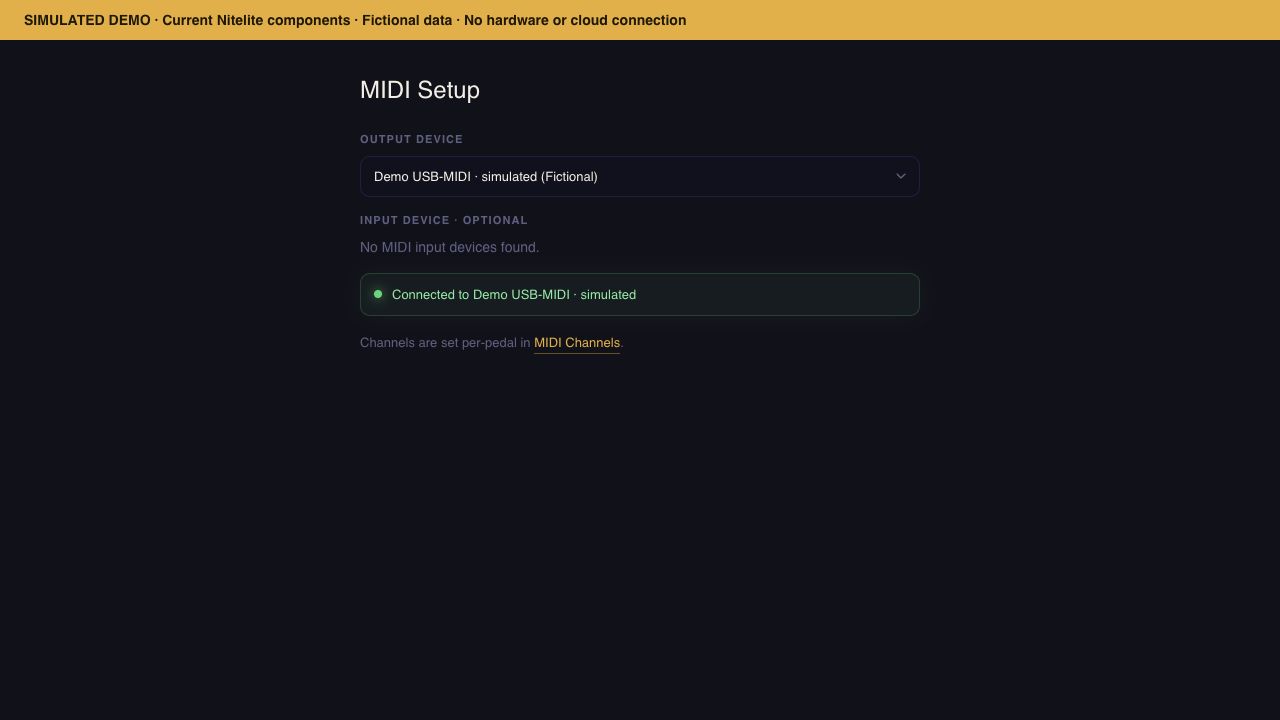
Section titled “3. Select your device”Open MIDI in the sidebar. Under Output device, select the port wired to your pedal. With an interface, you’ll usually see the interface’s name.
 ↗ Enlarge
 MIDI Live tells you an output is available. The listening check below confirms whether messages reach your pedal.
4. Add your pedals
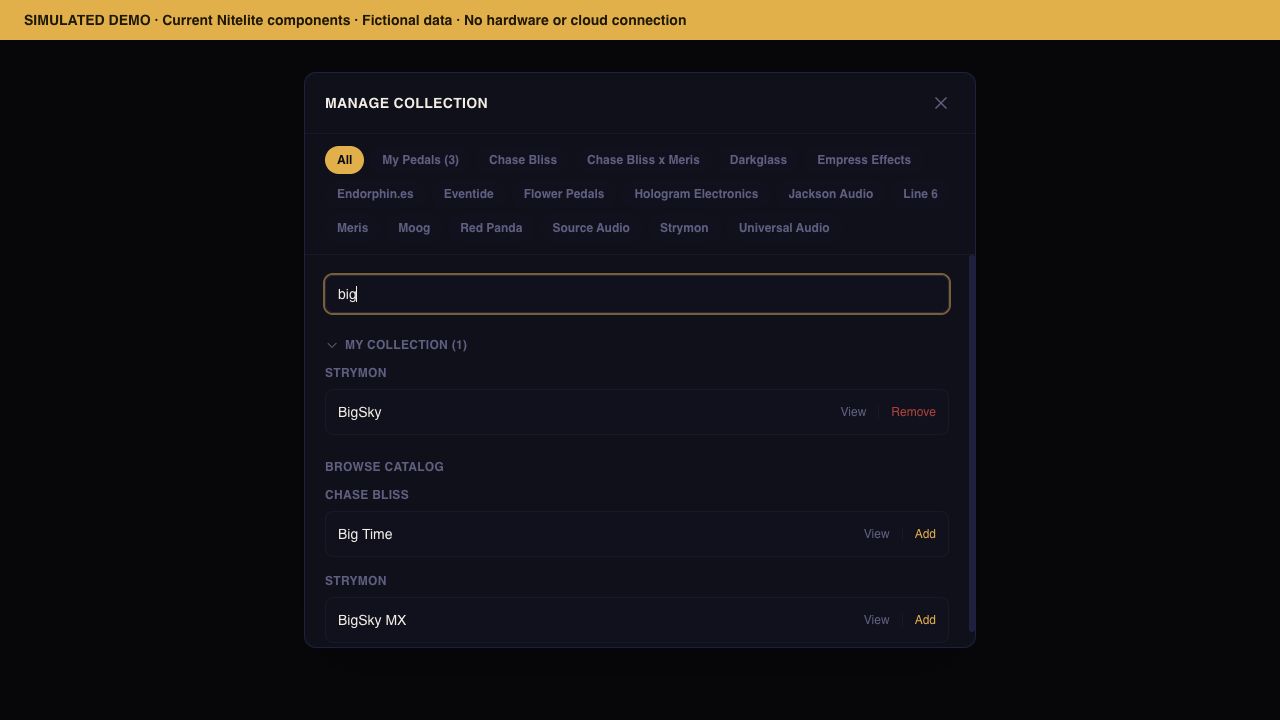
Section titled “4. Add your pedals”Open Pedals → Edit collection. Search the catalog and add the pedals you use. Changes save as you make them, so your board is easy to find next time.
 ↗ Enlarge
 5. Match the channels
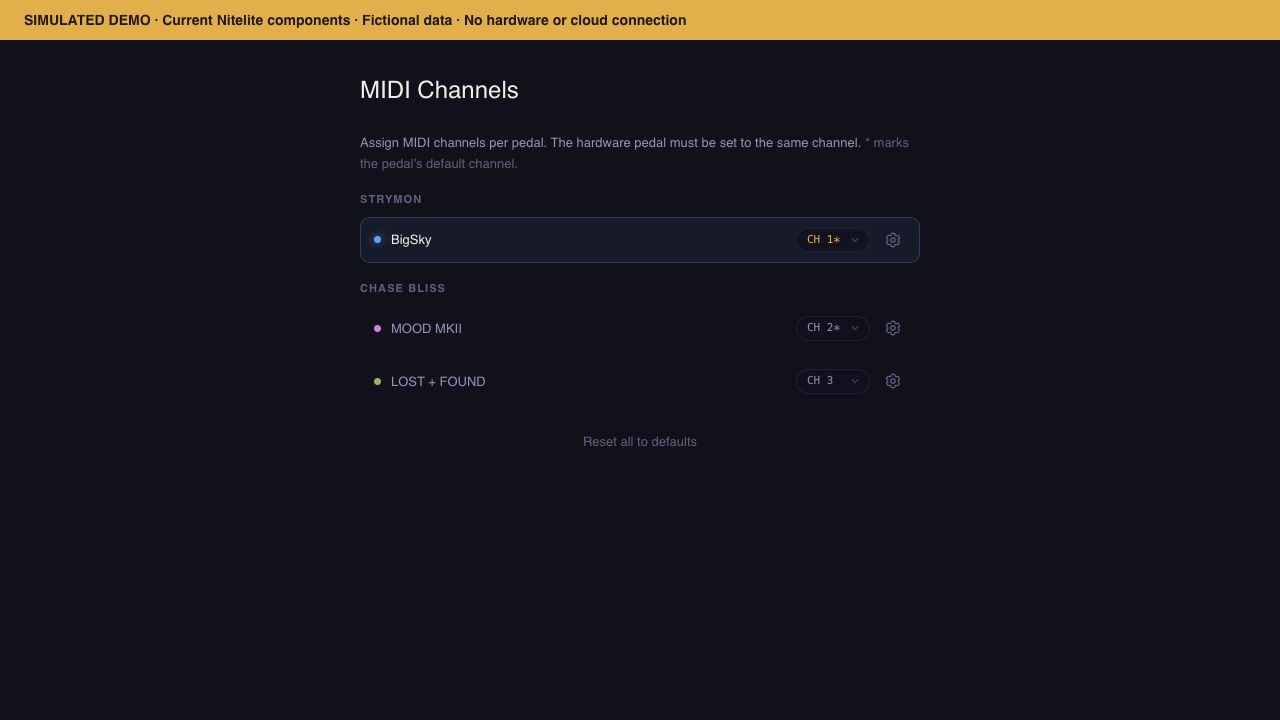
Section titled “5. Match the channels”Open Channels. Set each app channel to the receive channel already configured on that pedal. If your board already works with those channels, keep them.
For pedals sharing a MIDI path, use distinct receive channels unless you want them to respond together. Set the same channel on both sides: in Nitelite and on the hardware.
 ↗ Enlarge
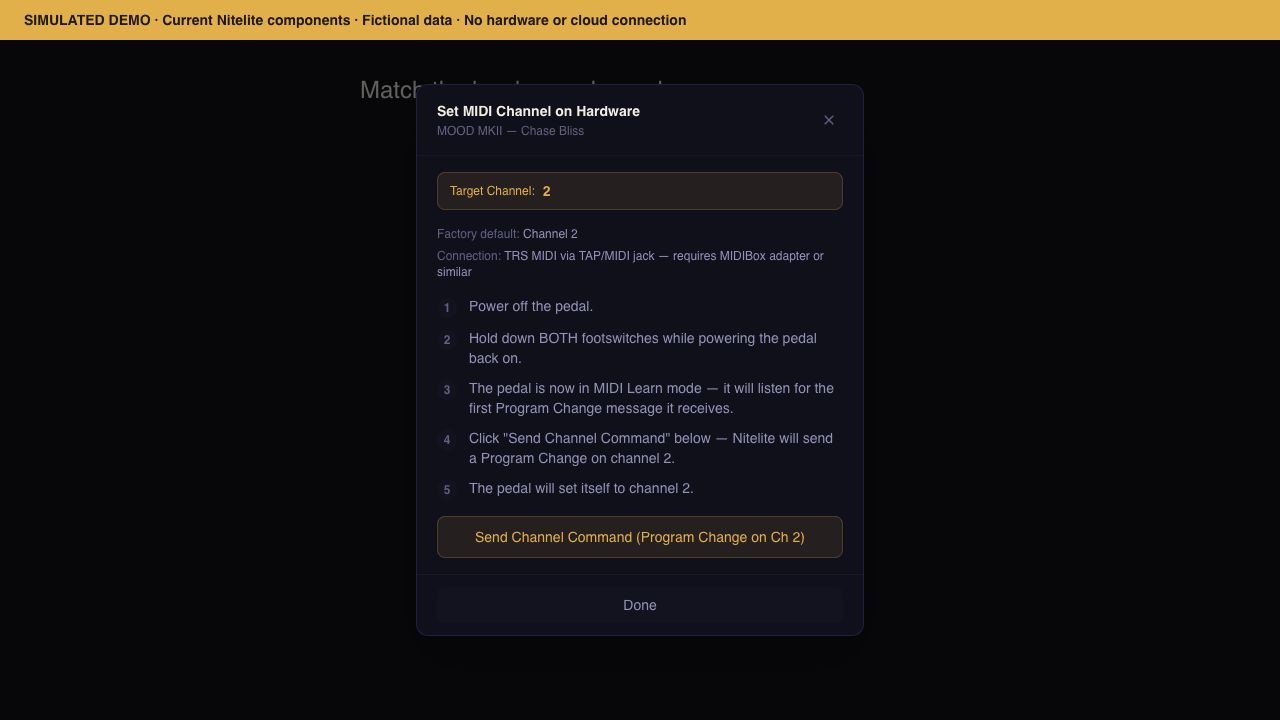
 Need help with the hardware side? Click the gear beside the channel, labeled Hardware channel setup guide. The app’s help calls it Guide me.
 ↗ Enlarge
 6. Make and save a sound
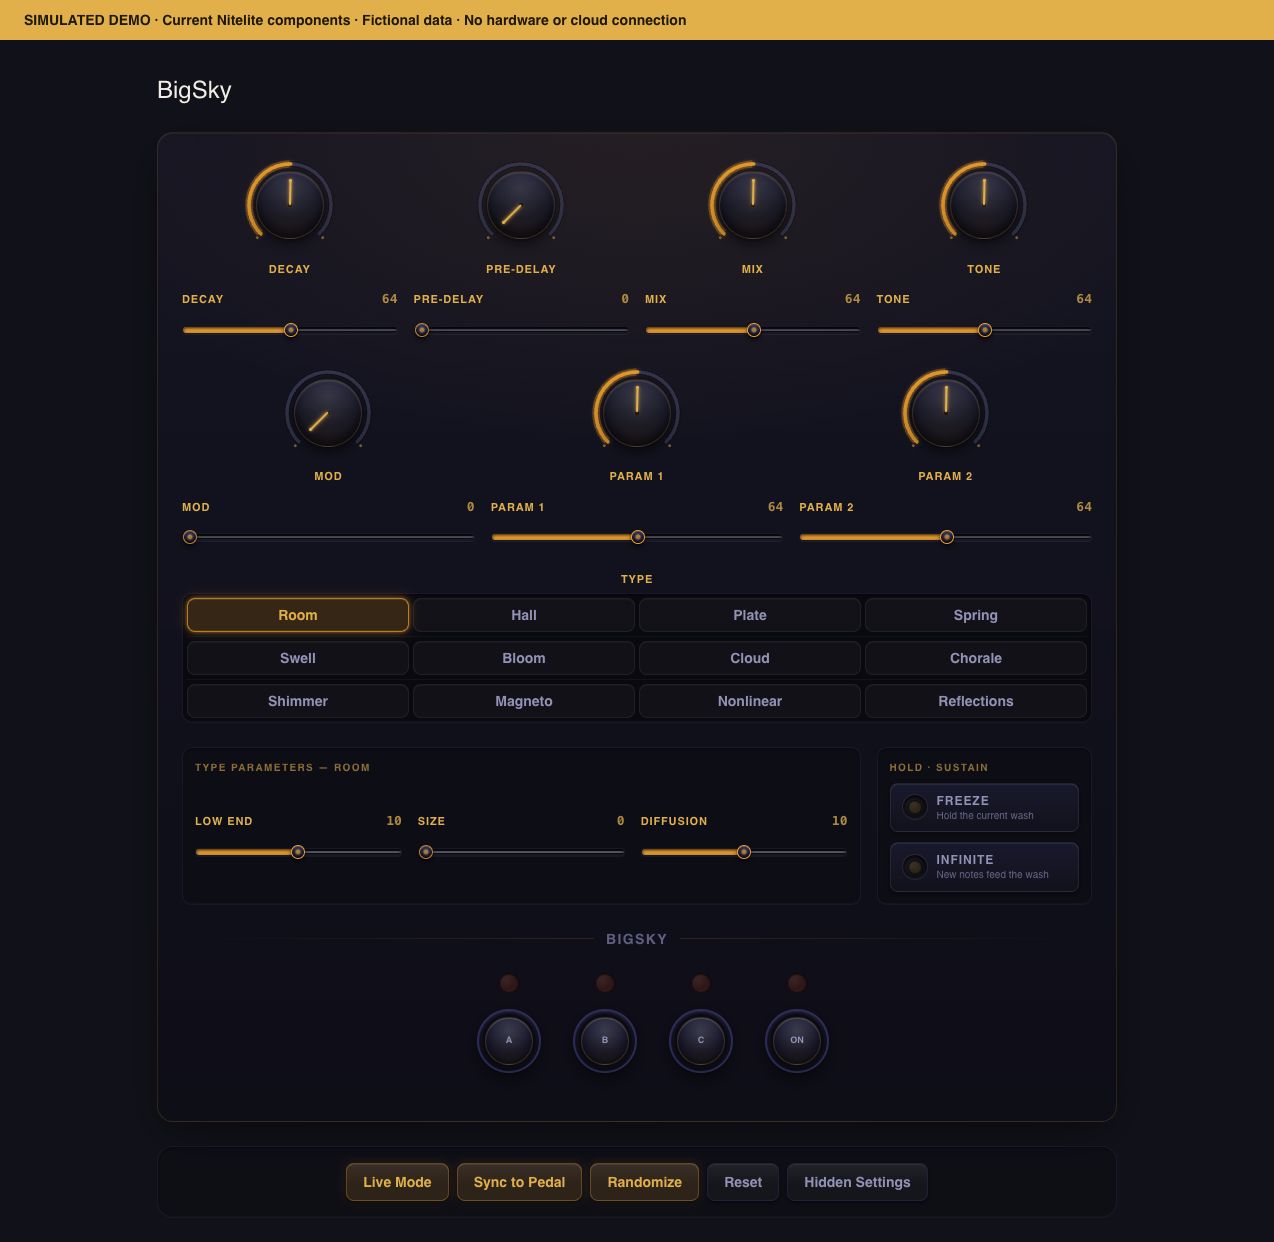
Section titled “6. Make and save a sound”Choose your pedal. To start from the settings shown on screen, use Sync to Pedal, then adjust and listen. This replaces the current hardware settings with the app’s values; Nitelite cannot capture a sound dialed only on the pedal.
Open Hidden Settings to explore further, or try a preset from Library.
 ↗ Enlarge
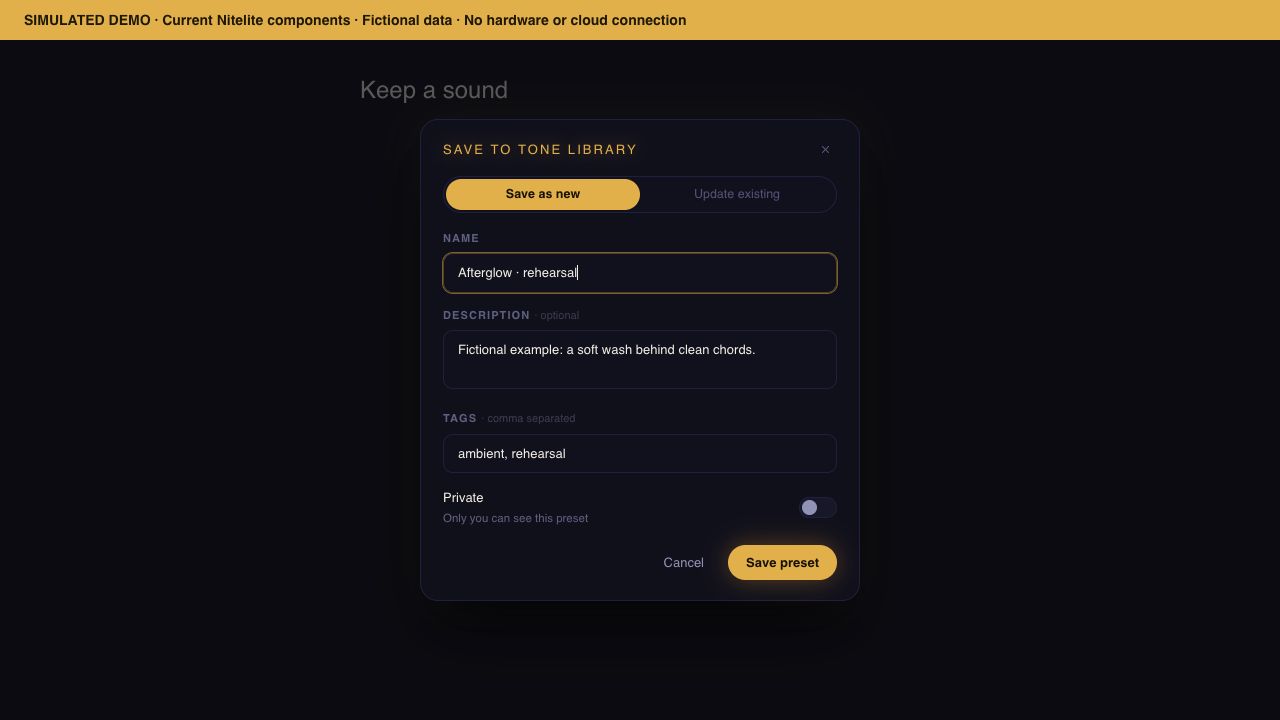
 Sync sends the screen’s settings to the pedal. Save keeps those settings as a cloud preset. Neither action writes a hardware slot.
When you like what you hear, click Save → Save as new, give it a name, and click Save preset. Leave it private while you work on it.
 ↗ Enlarge
 Save and update presets → · Put a sound in hardware memory →
7. Run a few quick checks
Section titled “7. Run a few quick checks”| Try this | What you should notice |
|---|---|
| Play with the effect bypassed, then engaged | Your guitar audio path works. |
| Lower the effect mix on screen, then restore it | The sound changes on the intended pedal. |
| Repeat on each pedal on a shared MIDI path | Only the addressed pedal responds. |
| Save a preset, change one value, then load it from Presets | The saved app value returns. Listen for the corresponding hardware change. |
If a check fails, start with the output, cable direction, and channel. Troubleshooting walks through those in order.
Next time, get straight to playing
Section titled “Next time, get straight to playing”Reconnect the same gear, check Output device, and load your preset. Your collection and account channel choices are already there. If you’ve changed computers, cabling, or hardware channels, revisit just that part of setup.